Tuesday, June 16, 2015
Waffles and Berry Syrup
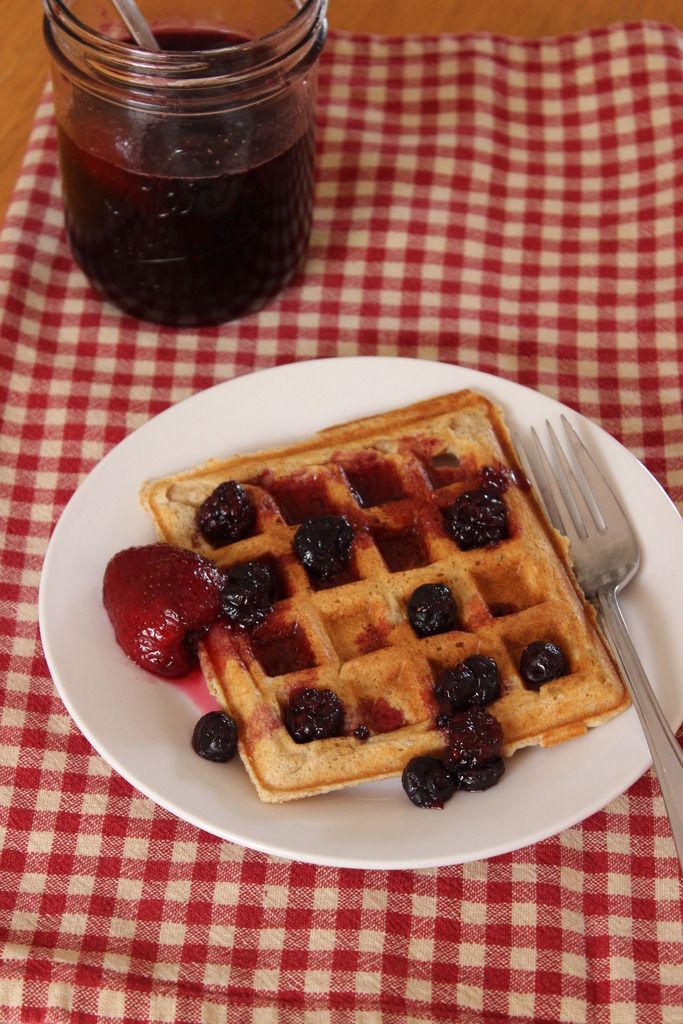
These homemade waffles with homemade berry syrup are DELICOUS! Now that it's summer there is time in the morning to make big breakfasts.
First lets do the waffles.
Ingredients:
- 2 cups unbleached all-purpose flour
- 1 teaspoon salt
- 4 teaspoons baking powder
- 2 tablespoons corn sugar (or 2 tablespoons sugar)
- 2 eggs
- 1 1/2 cups warm milk
- 1/3 cup melted butter (about 5 tablespoons)
- 1 teaspoon vanilla
DIRECTIONS:
First turn on your waffle maker to get it heated.
Sift together flour, salt, baking powder, and sugar.
In a separate bowl beat eggs. Then mix in melted butter. Be careful, if the butter is too hot it will cook the eggs. Allow melted butter to cool before adding. Heat the milk to luke warm, just enough to take the chill out. Add milk to egg and butter mixture and mix well.
Next add the butter, eggs, and milk mixture to the dry ingredients. Mix until lumpy. Don't over mix or your waffles will be tough.
Grease your waffle maker with butter or nonstick cooking spray. Cook your waffles until golden brown.
Now lets do the berry syrup.
INGREDIENTS:
*2 cups frozen berries
*1/2 cup water
*2 cups corn sugar or (2 cup sugar)
DIRECTIONS:
First, combine all three ingredients in a small saucepan. Put stove on medium high and bring to a boil while stirring to prevent sauce from burning on the bottom of the saucepan. Reduce heat to low, continue to stir and let it simmer for 5 minutes. Let it cool for at least 10 minutes.
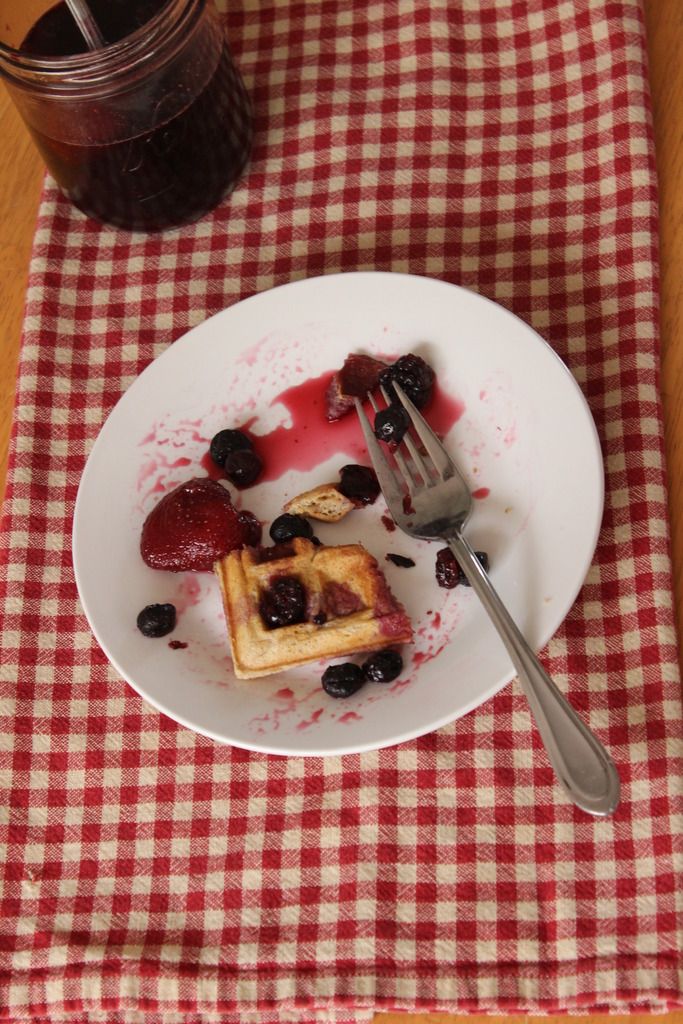
That was good!
Saturday, April 4, 2015
Sugar Cookies & Hardening Icing

Sorry I haven't posted in about a month. But this lactose free sugar cookie recipe with this awesome hardening frosting is delicious!
First, lets do the sugar cookies. Which are delicious!
INGREDIENTS:
- 3 cups flour ( I used organic whole wheat flour, so mine are brown )
- 3/4 teaspoon baking powder
- 1/4 teaspoon salt
- 1 cup butter ( 16 tablespoons )
- 1/2 cup corn sugar + 1/2 cup sugar ( or just 1 cup sugar)
- 1 beaten egg
- 1 tablespoon lactose free milk ( milk )
- 1 teaspoon vanilla
Sift together the flour, baking powder, and salt. Then cream together the sugar(s) and butter. Add the egg and milk to the creamed sugar and butter. Put your mixer on low and slowly add the dry ingredients to your wet mixture. It should be doughy when your done mixing.
Divide your dough in half. Put them into a bowls and cover (I used a towel ). Put it in your refrigerator and let it sit there for 2 hours.
Preheat your oven to 375 degrees. Take one ball of dough from fridge at a time. Sprinkle flour on your surface and roll out dough to about 1/4 inch. You can cut out any shape you want. I used an egg shaped cookie cutter for Easter.
Place cut out cookies onto pan about an inch apart. Bake for about 7-9 minutes. Let cool and ice!
Now lets make this delicious also lactose free hardening icing! This is so nice because you can stack them and they wont get messed up. Now lets start making them.
INGREDEINTS:
- 1 cup powder sugar
- 2 teaspoons milk
- 2 teaspoons light corn syrup
Delicious frosting. It's awesome because it hardens! I use this frosting for sugar cookies and it tastes so good.
Tuesday, February 17, 2015
Mini Gluten Free Chocolate Cupcakes & Peanut Butter Frosting
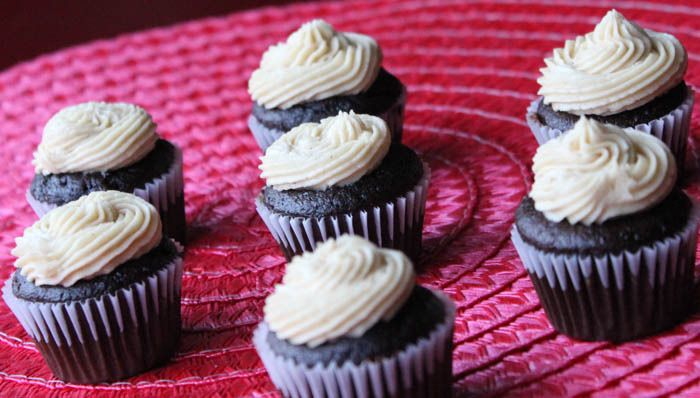
The reason why I made these was because my mom and I wanted to make a gluten free cupcake and my dad LOVES chocolate! So we made a gluten free chocolate cupcake. We used peanut butter frosting because you CAN'T go wrong with peanut butter and chocolate. I took them to my aunt's super bowl party and everybody loved them! They're mini so they are so cute and you can stuff as many as you want in your mouth.
First lets make the mini gluten free chocolate cupcakes.
CUPCAKE INGREDIENTS:
*3/4 cups + 2 tablespoons gluten free rice flour mix
*3/4 teaspoon baking powder
*1/2 teaspoon xanthan gum
*1/2 teaspoon salt
*3/4 teaspoon baking soda
*1/2 cup sugar
*1/2 cup corn sugar - or 1/2 cup sugar
*1/2 cup corn sugar - or 1/2 cup sugar
*1/2 cup coca powder
*1 egg
*1/2 cup milk
*1 teaspoon vanilla extract
*1/2 cup warm water
*1/2 cup vegetable oil
DIRECTIONS:
First, preheat your oven to 350 degrees. So it's ready when your ready.
In a large bowl mix the gluten free mix, baking powder, xanthan gum, salt, and baking soda.
After you are done mixing add the sugars and the coco powder. Mix that in. Then add the egg, milk vanilla, water, and vegetable oil. Mix until until smooth, but don't over mix!
Make sure you use a mini cupcake pan. Cook for 10-11 minutes. Make sure you let them cool before you touch them. These are really good and you should try them.
Now lets make the peanut butter frosting.
FROSTING INGREDIENTS:
*1 stick of butter at room temperature
*1 cup creamy peanut butter
*3 tablespoons milk at room temperature
*2 cups confectioner sugar
DIRECTIONS:
First, cream the butter and peanut butter in a bowl. Then add the sugar and when it starts to get thick add a little bit of milk. Once the milk is gone and the peanut butter frosting is fluffy it's done. This frosting tastes so good on the cupcakes.
Thursday, February 5, 2015
Why I Love Baking
Sorry I haven't posted for a while. Well I want to explain why I love baking. One reason I love baking is because it's super messy! MAKING A MESSE IS FUN The second why I love baking is because it's science. Without science you wouldn't measure and the food wouldn't come out right. Science is my second favorite thing. Baking is my first favorite thing. The third and final reason I love baking is because I love eating the food when it's done! These are the reasons I love baking!
I want to learn a little about you. In the comments write your favorite color or colors. My favorite colors are pink and blue. Also in in the comments write if you like baking or if you don't like baking and why.
I want to learn a little about you. In the comments write your favorite color or colors. My favorite colors are pink and blue. Also in in the comments write if you like baking or if you don't like baking and why.
Tuesday, January 20, 2015
Warm Gluten Free Chocolate Chip Cookies
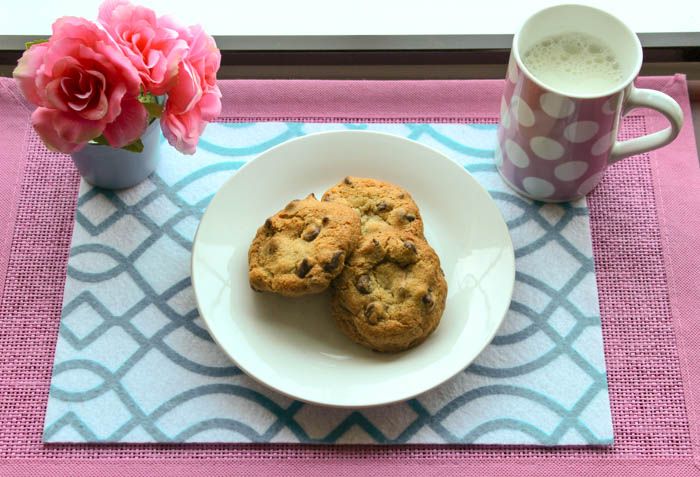
I chose this recipe as my very first recipe on this blog because it's winter. It's cold and chocolate chip cookies are hot out of the oven so it warms you up. Also who doesn't like a good chocolate chip cookie?! These cookies are moist, fluffy, gluten free, and they melt in your mouth! Bet you'll love them!
This is a gluten free chocolate chip cookie recipe. First, grab all your ingredients, which are...
* 2 sticks unsalted butter
*2 cups and 2 tablespoons all purpose gluten free rice flour blend
*1/4 cup cornstarch
*1 teaspoon xanthan gum
*1 teaspoon salt
*1 teaspoon baking soda
*1/4 cup dextrose (corn sugar) or 1/4 cup sugar
* 1 1/4 cups light brown sugar
*1 whole egg
*1 egg yolk
*2 tablespoons lactose free whole milk
*1 1/2 teaspoons vanilla extract
*12 ounces semisweet chocolate chips
First, melt the butter in saucepan on low heat. Once the butter has melted put it into a bowl.
In another bowl sift together all purpose gluten free rice flour blend, corn starch, xanthan gum, salt, and baking soda. That is the flour mixture. Set aside
Add both brown sugar and dextrose (or sugar) to the bowl with the melted butter. Using electric mixer, cream together sugars with melted butter on medium speed for one minute. Add the whole egg, egg yolk, whole milk, and vanilla extract and mix until well combined. Slowly incorporate flour mixture until combined. Add the chocolate chips. Stir until combined.
Chill the dough in refrigerator until firm, approximately 1 hour.
Preheat the oven to 375 degrees F.
Shape the dough into balls and place on baking sheets, 6 cookies per sheet. Bake for 7-9 minutes. Let cookies cool for 2 minutes. Store cooked cookies in an airtight container. Then you're finished!
I love mine dipped in milk!

Thursday, January 15, 2015
My Fructose Intolerance
I found out I was fructose intolerant in 2nd grade. Everday after lunch I went to the school nurse with headaches and stomach cramps. Also when I got home from school I was depressed and tired. My symptons were always after lunch so we thought it was food related. My mom made me a doctors appointment.
The doctor said I had to have a blood test for gluten intolerance and a hydrogen test (breath test) for fructose intolerance. So I had to go on a chicken and rice diet 48 hours before the hydrogen test. I couldn't eat the morning of the test. On the way to the doctor's office I saw a Mc Donalds and there was a poster of a double cheeseburger and I was so hungry! It wasn't fair! When we got there I had to drink a nasty drink. After that I had to blow into a bag. I think they smelled it...
Turns out I was fructose AND lactose intolerant. The gluten test was unreadable. The doctor put me on the low FODMAP elimination diet to see what foods harmed me. FODMAP stands for Fermentable Oligosaccharides, Disaccharides, Monosaccharides, and Polyols. Wow! That was hard to type. These names represent types of sugars or carbs found in foods that may harm people with sensitivities.
So now we know what foods are BAD and that I can't have a lot of wheat or else I get a headache. I also CAN'T have high fructose corn syrup and too much sugar. We live and cook by the rules. HEALTHY!
Sunday, January 11, 2015
Welcome to my blog!
Hi! My name is Sydney. I'm 9 years old. My dream since I was probably about 5 was to have my own bakery and be a baker. I love to cook! I love looking up recipes on the web and testing them with my mom! But I cook on my own too. My sister is only 4 and she never eats eggs unless I cook them.
In 2013 I was diagnosed with fructose intolerance, lactose intolerance, and I couldn't really have anything with wheat in it. So we had to find a way for me to cook without getting stomach cramps and headaches. Now my family makes a lot of homemade things because I can't have a lot of processed foods.
Now that I have a blog I'll share all my amazing recipes and things I learn along the way with you! Hope you enjoy!
Subscribe to:
Posts (Atom)